SharePoint Server Subscription Edition was released with support for OIDC based authentication. This tutorial will demonstrate an example implementation with AD FS that allows for using your own identity provider while at the same time, prevents the use of classic Windows authentication for better security. It also assumes that you are using Active Directory as attribute store for claims. As claim provider we will be using the open source solution LDAPCP.
What is OIDC?
OpenID Connect (OIDC) is an identity layer built on top of the OAuth 2.0 framework. It allows third-party applications to verify the identity of the end-user and to obtain basic user profile information.
Auth0
What is AD FS?
Active Directory Federation Services (AD FS), a software component developed by Microsoft, can run on Windows Server operating systems to provide users with single sign-on access to systems and applications located across organizational boundaries.
Wikipedia
Prerequisites
- An up-to-date SharePoint Subscription Edition Farm
- All required service applications, most notably the User Profile Service application. Do not import users yet!
- Web application(s):
- Windows Authentication enabled for the default alternate access mapping. This is a requirement for the search crawler to work correctly. To prevent outside access you can use a firewall or reverse proxy. Example: http://sharepoint.local
- Extended alternate access mapping with HTTPS that will be used with OIDC. This is what your users will be using from for example, the internet zone. Example: https://sharepoint.contoso.com, https://sharepoint-my.contoso.com
Configure AD FS
Perform the following steps to create the application in AD FS that will be used as Trusted Identity Provider in SharePoint.
- Open AD FS management
- Create an application group from the “Web browser accessing a web application” template
- Add a Redirect URI for each domain. Example: https://sharepoint.contoso.com, https://sharepoint-my.contoso.com, https://*.sharepoint-apps.contoso.com
- Note down the Client Identifier as this will be used later when configuring SharePoint
- Add the following claim issuance transformation rules from the Send LDAP Attributes as Claims template:
- User-Principal-Name = UPN
- Token-Groups as SIDs = Group SID
- Token-Groups unqualified names = Role
- Add the following rule from the Send Claims Using a Custom Rule template:
c:[Type == "http://schemas.microsoft.com/ws/2008/06/identity/claims/windowsaccountname"] => issue(Type = "nbf", Value = "0");
Configure Trusted Identity Provider in SharePoint
What is a Trusted Identity Provider?
A trusted identity provider in SharePoint is used for authenticating users. We previously configued AD FS and will now configure SharePoint to trust identity tokens issued by AD FS.
- Open SharePoint Management Shell as administrator
- Generate a certificate for cookie signing:
$cert = New-SelfSignedCertificate -CertStoreLocation Cert:\LocalMachine\My -Provider 'Microsoft Enhanced RSA and AES Cryptographic Provider' -Subject "CN=SharePoint Cookie Cert" -NotAfter (Get-Date).AddYears(30) - Open Manage Computer Certificates and export it with private key (pfx)
- Open SharePoint Central Administration > Manage Certificates and import the pfx file
- Set the certificate as cookie signing certificate in SharePoint Management Shell
$certificate = Get-SPCertificate -Identity "SharePoint Cookie Cert"(Get-SPFarm).UpdateNonceCertificate($certificate, $true) - Create the Trusted Identity Provider:
$Name = "adfs" # Identifier of trust and claim provider, prefix on login names
$AdfsUrl = "https://adfs.contoso.com"
$AdfsClientApplicationIdentifier = "ADFS_CLIENT_IDENTIFIER" # See Configure AD FS

$upn = New-SPClaimTypeMapping "http://schemas.xmlsoap.org/ws/2005/05/identity/claims/upn" -IncomingClaimTypeDisplayName "UPN" -SameAsIncoming
$role = New-SPClaimTypeMapping "http://schemas.microsoft.com/ws/2008/06/identity/claims/role" -IncomingClaimTypeDisplayName "roles" -SameAsIncoming

$metadataendpointurl = "$AdfsUrl/adfs/.well-known/openid-configuration"

$trust = New-SPTrustedIdentityTokenIssuer -Name $Name -Description $Name -ClaimsMappings $upn, $role -IdentifierClaim $upn.InputClaimType -DefaultClientIdentifier $AdfsClientApplicationIdentifier -MetadataEndPoint $metadataendpointurl

$trust.UseWReplyParameter = $true
$trust.GroupClaimType = $role.InputClaimType
$trust.Update()
Prevent sharing with Windows accounts
To securely prevent Windows accounts accessing SharePoint you must configure a LDAP filter. Even if the user interface will only allow permission assignment to your selected identity providers, you can still assign permissions to any identity programatically. For SharePoint to work properly, the service accounts must still be resolvable however. You can configure the filter using SharePoint Management Shell.
$WebApplication = "Portal Home", "MySite Host"
$LdapFilter = "(&(objectCategory=person)(objectClass=user)(|(sAMAccountName=sp_cacheread)(sAMAccountName=sp_cacheuser)(sAmAccountName=sp_crawl)(sAmAccountname=sp_farm)(sAmAccountname=sp_Install)(sAmAccountname=sp_pool)(sAmAccountname=sp_services)))"

$WebApplication | Foreach-Object {
    Set-SPPeoplePickerConfig -WebApplication $_ -ActiveDirectoryCustomFilter $LdapFilter
}
LDAPCP as Claims Provider
With the Trusted Identity Provider we can authenticate users, but it is not fully usable by itself. It cannot handle permissions set on a user attribute, such as a security group membership. SharePoint also does not yet know how to search our identity store, like when using a people picker. This is where claims providers comes in.
In SharePoint Subscription Edition a claim provider called User Profile Application Claims Provider is included out of the box. However, it does not yet support claim augmentation, meaning that a identity token cannot be augumented with group memberships. This makes it unsuitable for most production scenarios.
There is no online documentation explaining this, but it was confirmed to us by Microsoft escalation engineers.
In this example we will be using LDAPCP, a open source claims provider. As the name implies, it uses the LDAP protocol to search our identity store. Usually this is Active Directory.
- Follow the installtion instructions for LDAPCP
- Open SharePoint Central Administration and go to Security > LDAPCP > Global configuration
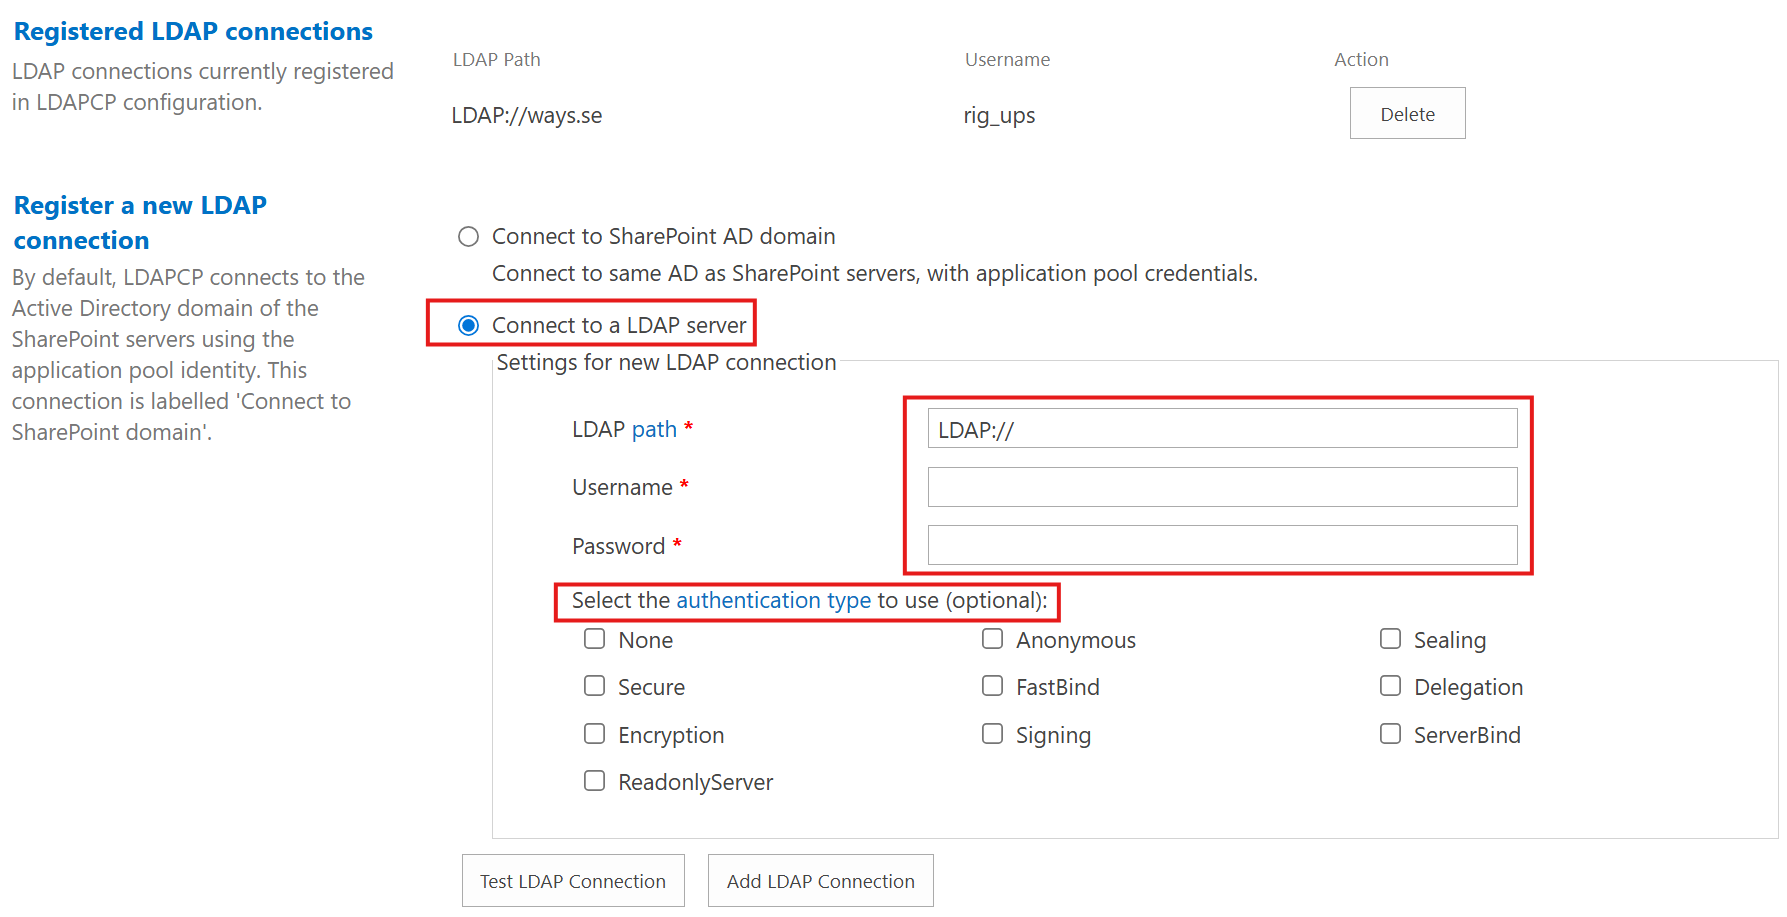
- Configure the LDAP connection. In this example we are using the user profile synchronization service account, that should have the required access to Active Directory.
- Save by clicking OK at the bottom of the page.
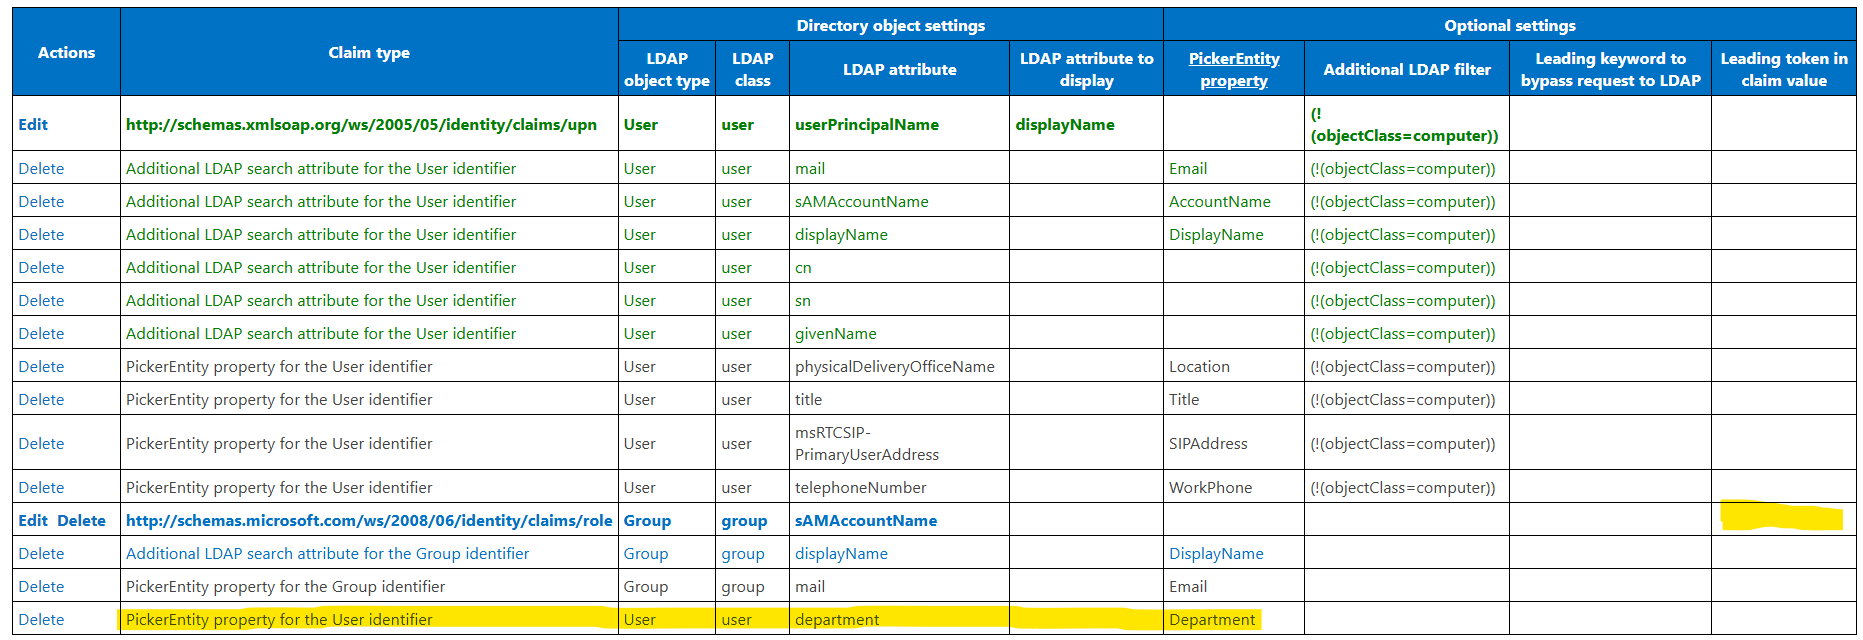
- Open SharePoint Central Administration and go to Security > LDAPCP > Mapping of permissions. Configure the mappings as in the image blow. Notice that we have removed the prefix on groups, since we have mapped role to unqualified group names in AD FS. We have also added department as PickerEntity metadata, this allows searching for this in the people picker.
User Profile Synchronization
User Profile Service Application has many purposes and must be correctly configured according to the Trusted Identity Provider. For example, if a OU is missing or identity claim is mapped to the wrong property, OAuth authentication will not work, such as add-ins or Office Online Server.
When configuring the synchornization connection, ensure that:
- You are using the Trusted Identity Provider
- That the OUs with all relevant users and groups are included
- You have mapped the Claim User Identifier (SPS-ClaimID) to the userPrincipalName LDAP attribute, according to our mappings in AD FS
- That you have ran a full synchronization
Web applications
Now that you have configured SharePoint services you can enable trusted identity on your web applications.
- Open SharePoint Central Administration and go to Manage web applications
- Select the web application and click Authentication Providers
- For the extended zone (e.g. internet), deselect Windows Authentication and select Trusted Identity Provider

- Click Save at the bottom of the dialog
- Repeat for all applicable web applications
When browsing to SharePoint, you should now be redirected to AD FS to sign in.
Office Online Server
If using Office Online Server, ensure that:
- External access is configured for HTTPS
- It can resolve SharePoint’s default alternate access mappings, in this example: http://sharepoint.local, http://sharepoint-my.local
Special thanks
Yvan Duhamel (Microsoft Escalation Engineer), for LDAPCP and his expertice in SharePoint Server authentication. We highly recommend that you check out his GitHub and LinkedIn profiles for excellent resources.
MetaShare runs anywhere
MetaShare uses SharePoint’s powerful engine and adds features that improve and simplify SharePoint’s interface.
MetaShare is native to Microsoft 365 and the cloud. With that said, we recognize that it is not for everyone. Because of this we offer MetaShare with additional hosting options, self-hosted in Azure and on premises.