For a long time PDF-documents in Microsoft 365 were opened in the web browser. Currently you have a numer of different methods to edit a PDF document in SharePoint and save the changes back to SharePoint.
Method 1 – Edit in SharePoint preview
- Open the document using “Open in browser” action

- Edit the document by clicking on the “Edit” button, in the toolbar:

- A new menu will now be shown on the left side of the document, with these options:

- Click the pen to add notes
- Click the highlighter to highlight information
- Click the eraser to remove ink strokes
- When you are done with your edits, click the “Save changes” button, in the toolbar:

- The notes/highlights will now be saved in the document and the document’s version will be incremented with one version.
Note that you can change the colour and the thickness of the pen/highlighter by clicking on it a second time:
Method 2 – Edit in your desktop application
To open non-office documents in desktop apps, use the “Open in app” function. This means, that the file is first opened in OneDrive, which saves it in a local temporary folder, opens with default application (or asks which application to use) and synchronizes any changes done by the user back to SharePoint.
- Open the document using “Open in app” action

- You may see following question:

- After that, another question is displayed:

- The file will be opened in your default application for pdf files. If you do not have any default app set to open the file type of your document, you will be able to choose how to open the file.
- If you make changes to a file and click on save, many apps instead of saving the file in its current location will ask you where to save the file. For the changes to be correctly synchronized back to Microsoft 365, you have to overwrite the file in temporary folder under OneDriveCloudTemp (the folder on the top of the list). For example Adobe Acrobat may show following dialog:

Method 3 – Edit in Adobe Acrobat
If you have activated the “Adobe Acrobat for SharePoint and OneDrive” app, you get an option to open it in that app from SharePoint.
- Open the document
- Edit the document by clicking on the “Open” button, in the toolbar and thereafter the “Open in Adobe Acrobat” option:

- The file will then open in the Adobe Acrobat web interface. You now also have the option to open the document in the Desktop app.

- If you already have an installed desktop app, just click on the “Open now” button:

- You will now be asked to allow the browser to open the desktop app. If you do not want to get this question every time you open a PDF in the desktop app, mark the checkbox:

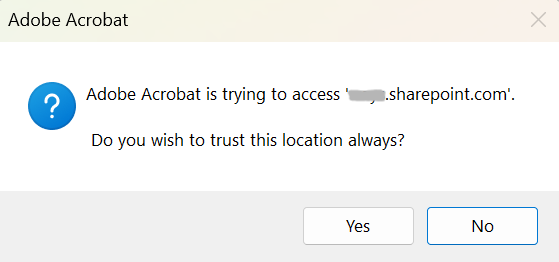
- Your Adobe desktop app will now ask you if you trust to open the file from SharePoint. Click on the “Yes” button:
- You will now be prompted to check out the document, which you should (see the last section on this page for more information about this).
- Edit the document and save it
- The document’s version will be incremented with one version
Note that this option will not work if third-party cookies are blocked in the browser. Ensure therefore that third-party cookies are unblocked for the browser you are using.
Required check-out when editing a document
- If you open a PDF document in the desktop app directly from SharePoint, you will be prompted to Check Out the document before editing it:

- Check Out & Open (the default option): If you select this option the document will first be checked out, before it is opened. For other users to later be able to edit the document, you have to check it in when you save your document (you will be asked to do so when you save the document).
- Open: If you choose this option you will be able to edit the document but when you save the document you will be prompted to first check it out, so it does not make sense to select this option if you already know that you will be editing the document.
- When you save the document you will be prompted to check in the document:

- During the check in, you will be prompted to select a version for the edited document:

Method 4 – Use Microsoft Syntex annotations
This method does not modify the file, but allows you to add highlights and notes to pdf files – either for yourself or for collaborating with others. This method is very similar to Method 1, the main difference is that it will not create a new version of the file, changes are saved in SharePoint library, but not the file itself.
- Open the document using “Open in browser” action
- Enter annotations mode by clicking on the “Annotate” button, in the toolbar:

- A new menu will now be shown on the left side of the document, with these options:
- Click the pen to add notes
- Click the highlighter to highlight information
- Click the eraser to remove ink strokes
- Your notes will be saved immediately and visible whenever the file is opened in preview. The file is not modified and version is not updated.
- Note, this feature requires Syntex license or Syntex pay-as-you-go configured.
Read more about the feature at Microsoft Learn
What about other Adobe files?
You can edit other Adobe files, such as Photoshop or InDesign. But it is not as straight forward as with PDF (or Office). The steps and quirks are described in another article.
Get things in order with MetaShare
MetaShare’s unique, user-friendly interface will help your users saving their documents in the right place and make it easy for the organization to find them later, using Metadata. Metadata come with a number of benefits, even for other file types than Microsoft Office.